How to Plan a Shipping Container Shop With a Roof
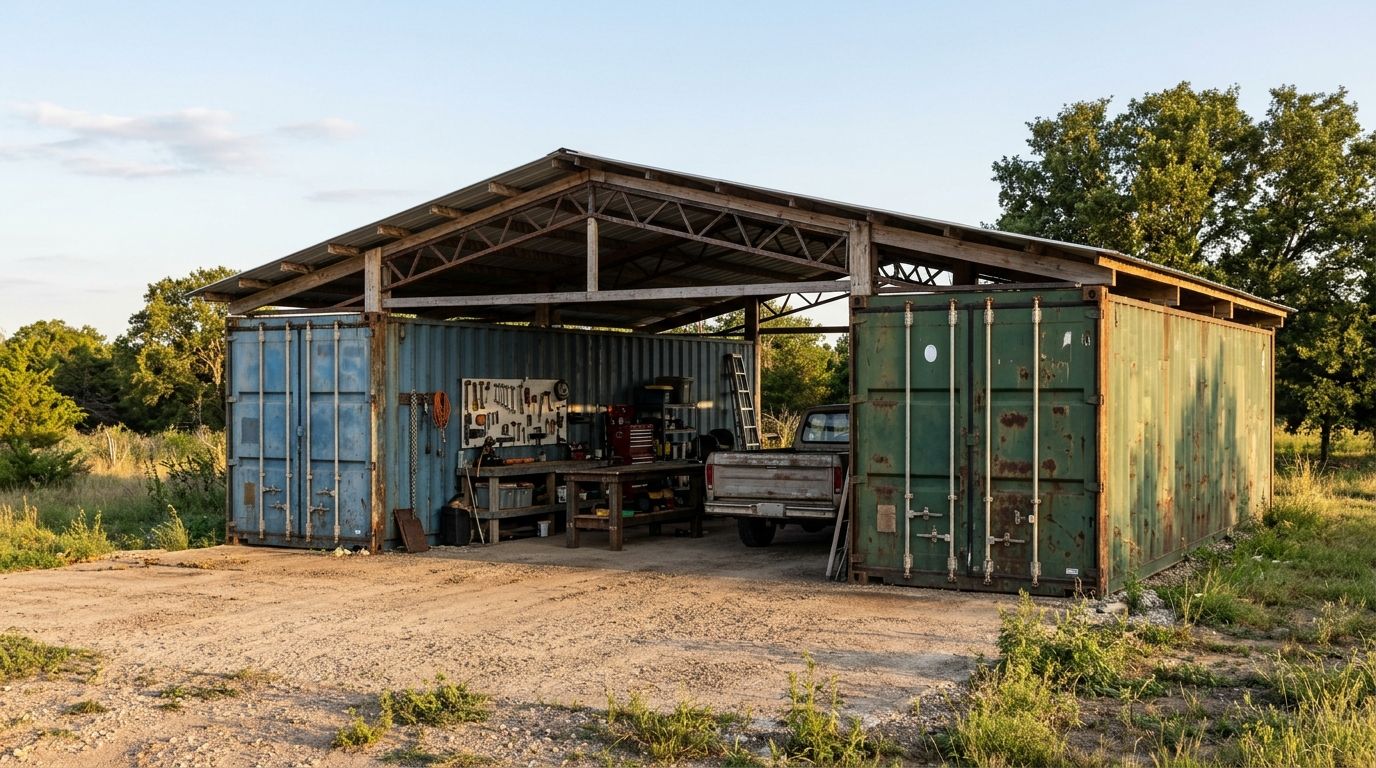
A shipping container shop is 2 containers with a roof spanning the gap. Choose the roof first, since its span sets the spacing, then plan delivery and anchors.
 Editorial TeamEditorial Team10 min read
On this page
- 01What a container shop is
- 02Choose the roof before you place the containers
- 03Pick the container size and condition
- 04Delivery and placement order
- 05Foundations and anchoring
- 06The center floor
- 07Inside or outside mount, and the water joint
- 08End walls, doors, and security
- 09Cutting openings into the containers
- 10Permits
- 11What goes into the budget
- 12When a container shop is the wrong choice
- 13Frequently asked questions
- 14Get one quote for the whole building
What a container shop is
A shipping container shop is 2 containers set parallel with a roof spanning the gap between them. The containers become the side walls and lockable storage, and the covered bay in the middle becomes the shop: room for a tractor, a truck, a bench, or a hay load. Farms, contractors, and rural homeowners build them because the 2 boxes carry the roof, so there are no posts in the bay.
The short version: choose the roof system first, because its rated span decides how far apart the containers go. Then pick the containers, plan the delivery so both boxes land square and level at that exact spacing, anchor them, and sort out the center floor and the permit before anything is bolted together. Each of those steps is harder to change after the next one is done.
Choose the roof before you place the containers
Most owner build stories online quote a gap, such as 15 or 20 feet, with no reason behind it. The gap should come from the roof. Every roof kit, whether a steel arch or a fabric cover on a steel frame, is made to span a set width under a set snow and wind load. Your site's loads come from your local building code, not from a forum, and a kit rated for one region may not be rated for yours.
Work out 3 things before you call anyone:
- What has to fit in the bay. The widest machine or vehicle, plus room to open its doors and walk around it.
- What height you need at the edges. The roof starts at the top of the containers, so container height sets the low point of the roof.
- What your snow and wind loads are. Your county building department can tell you the design values for your address.
Then match a kit whose rated span covers the width you need under those loads, and treat its spacing as the number the delivery has to hit. Containers are easy to place where you want them on delivery day and slow, costly work to shift a few feet later.
Pick the container size and condition
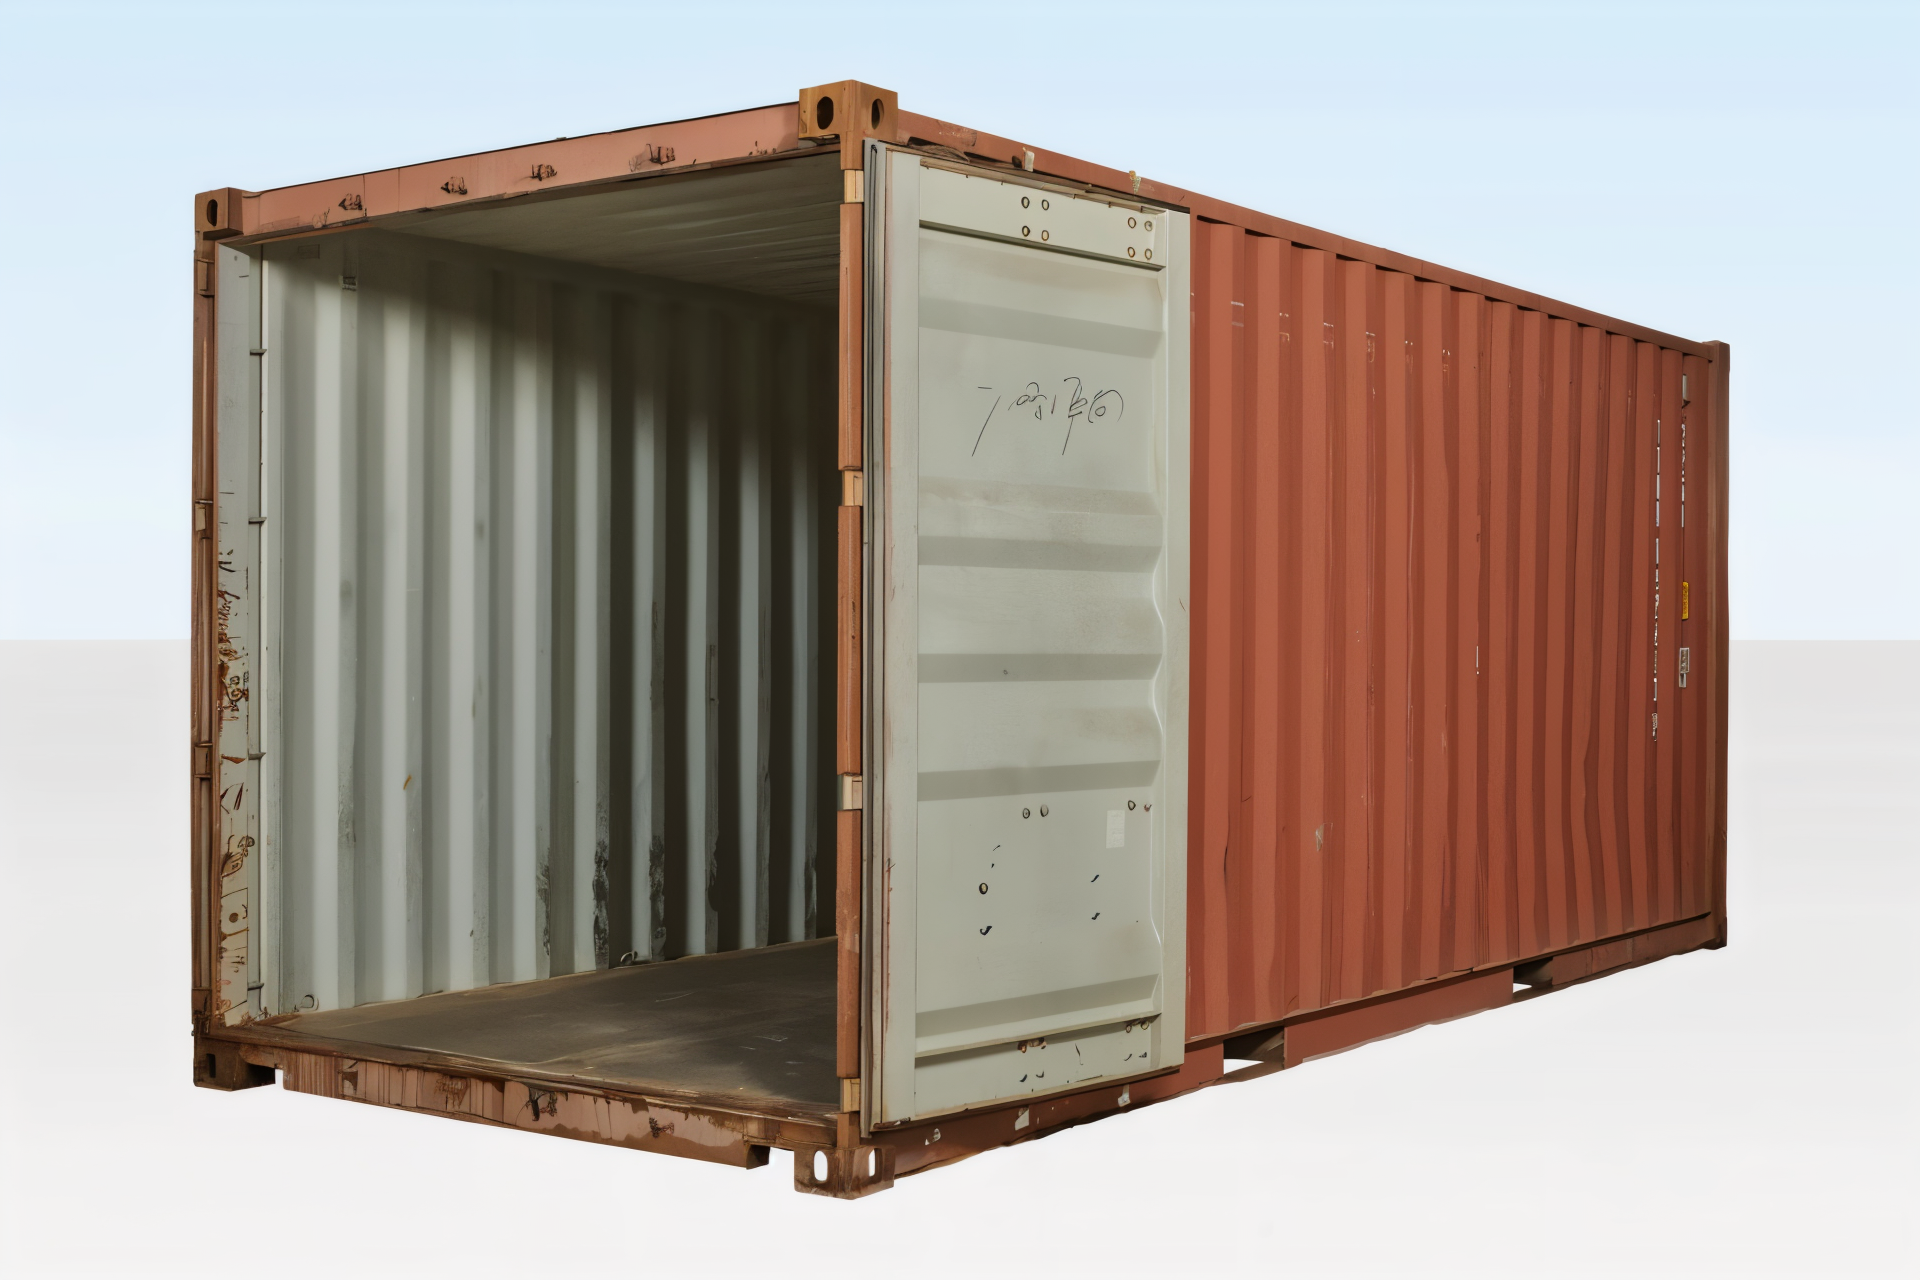
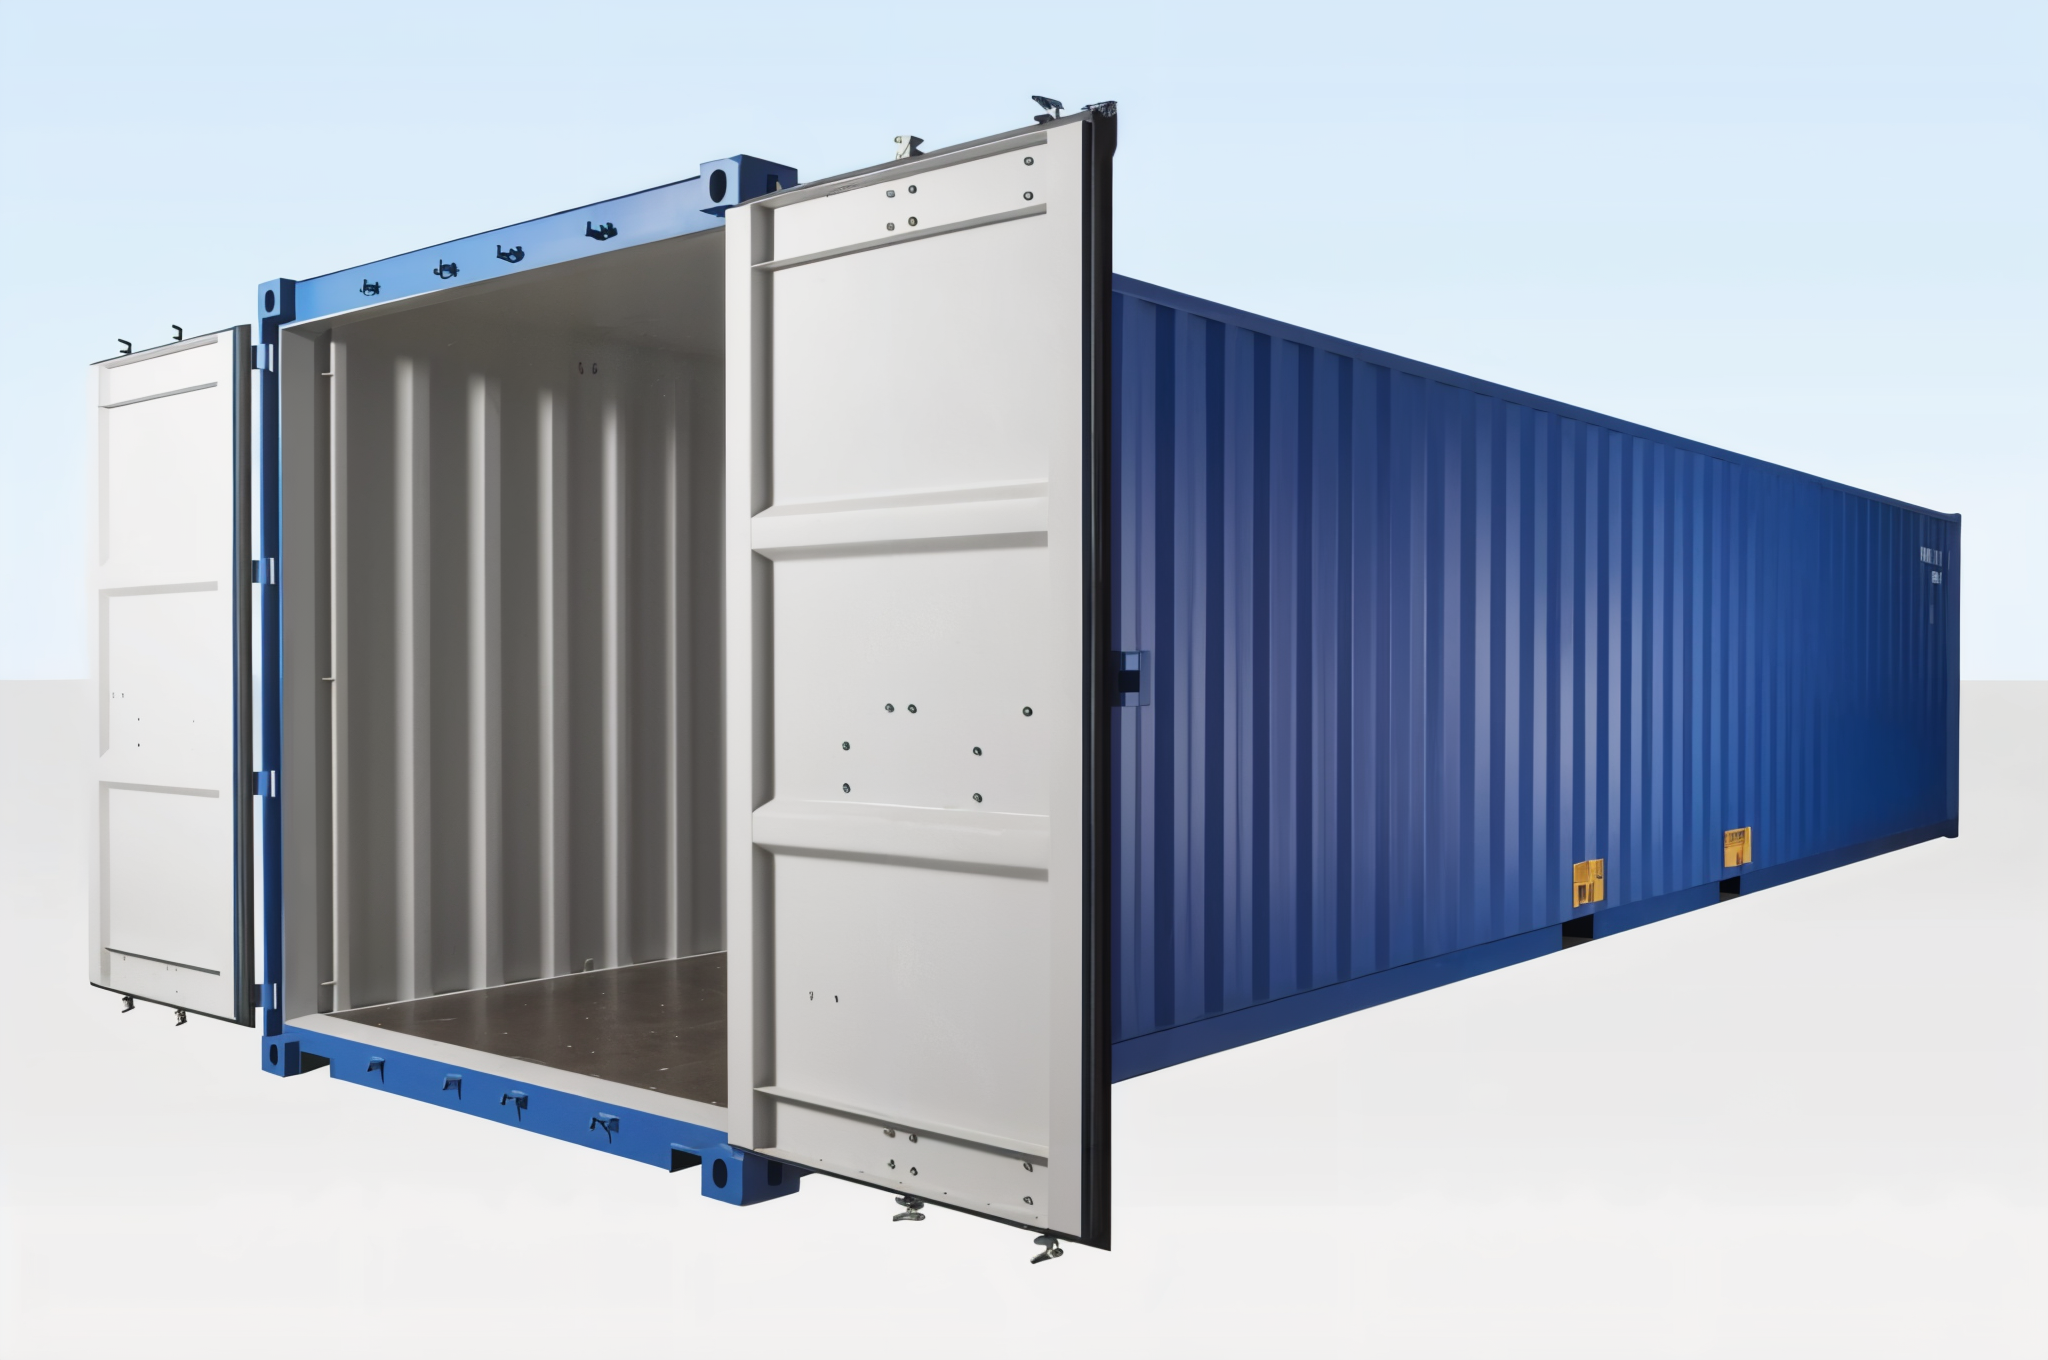
Container length sets the building's length. 2 40ft one-trip high cube containers give a 40ft-long shop. High cube means the box is 1 foot taller than a standard container, and one-trip means it crossed the ocean once with a single load, so it is close to new. That extra foot raises the roof's edge, which matters when you need clearance for a loader or a lifted truck. 20ft containers make a shorter, cheaper shop and are easier to deliver on a tight site.
For walls that never ship again, condition can come down a grade. A wind and watertight (WWT) unit keeps weather out but is not certified for export. A 40ft used standard container or a 20ft used wind and watertight container costs less than a one-trip box and works fine as a wall. The tradeoff is cosmetic wear and more rust to treat, and the roof's baseplates need sound steel along the top edge to bolt to. Ask for photos of the top rails of the actual units, not just the doors. Our guide to container condition grades explains what each grade allows.
Delivery and placement order
Placement is where most container shops go right or wrong, and roof kit guides skip it. Both boxes have to land parallel, square to each other, level, and at the roof's exact spacing. That takes planning the delivery around the second container, not the first.
A tilt-bed (roll-off) truck slides each container off at ground level, with no crane or forklift. It needs a straight, obstacle-free run to line up and pull away. The catch on a 2-box build is that the first container can block the run for the second. Walk the site with that in mind: which box goes down first, which direction the truck backs in, and whether it can still reach the second spot once the first is in place. Mark both footprints on the ground before delivery day, measured from the roof spacing.
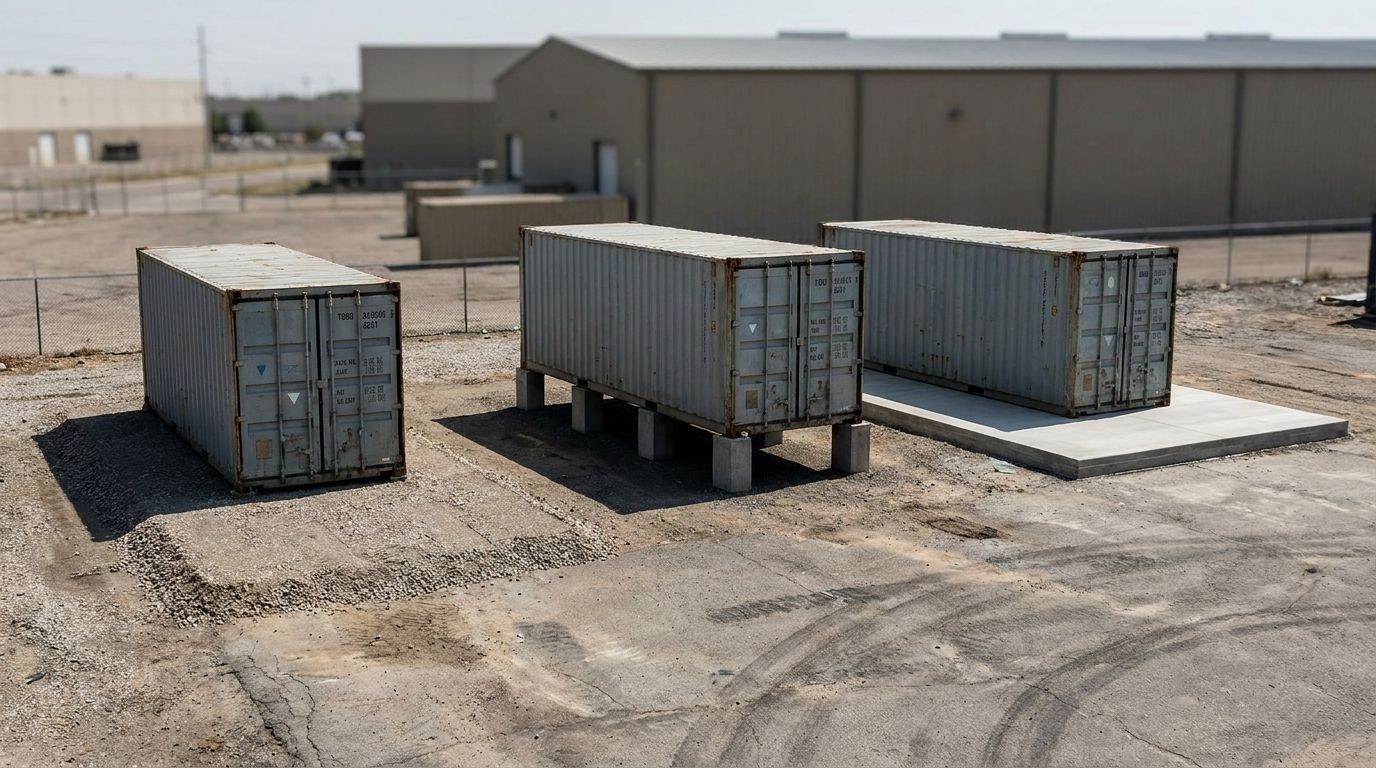
Decide early whether a slab goes in before or after the containers. Pouring first gives a clean, level base but means the truck drives over fresh concrete edges. Placing first means the slab is formed between 2 boxes already sitting on their own supports. Our post on moving a shipping container covers what it takes to reposition one if the spacing ends up wrong, and leveling a shipping container covers getting each box true on its supports.
Foundations and anchoring
On its own, a container is a heavy box that sits on its 4 corner castings, the reinforced steel blocks at each corner. Once a roof joins 2 of them, they work as 1 building that catches wind, and the uplift and sideways push from that roof go into the tops of the containers. That changes what the containers have to do: they need a foundation that carries the corners without settling unevenly, and hold-downs that keep the whole structure from lifting or sliding.
Supports go under the corner castings, not under the middle of the floor. Piers, a slab, or a compacted gravel pad can each work depending on soil and use; our guides to choosing a container foundation by use and concrete piers versus a slab compare them. Anchor size, type, and spacing depend on soil, exposure, and code, so they come from an engineer or the kit's stamped documentation, not from a rule of thumb. If you are in a high-wind area, our post on containers in hurricanes and high wind explains how wind loads a container and why straps never go over the thin roof panel.
The center floor
The bay floor is a separate decision from the container floors. Gravel is the cheapest and drains well, but it ruts under heavy wheels and is hard to sweep. A concrete slab costs more and needs drainage planned around it, but it is the only real option if you want a vehicle lift, an engine hoist, or heavy machinery bolted down. Container floors are hardwood plywood over steel cross members, rated for distributed cargo, not for the concentrated load of a lift post. Our post on how much weight a shipping container can hold explains the difference. Put the heavy, fixed equipment on the slab and use the containers for storage, tools, and parts.
Inside or outside mount, and the water joint
Roof kits attach with baseplates along the top edge of each container. An outside mount sets the roof on the outer edge, so the whole container top sits under the roof. An inside mount sets it on the inner edge, which leaves the container roofs exposed but gives a slightly different eave line. Follow the kit's instructions and engineering for which one your span allows.
The joint where the roof meets the container is where owners report trouble: water running down the roof onto a flat container top, pooling, and working into the seam. Over time that means rust on the container roof and rot or mold on anything stored against it. Plan the drainage at that joint before the roof goes up. That means gutters or flashing that carry water past the container rather than onto it, and a check that the container tops are not left as a flat catch basin.
Under a steel roof, condensation is the other moisture problem. Warm, damp air meets cold steel and drips. Our guides to container ventilation and insulating a shipping container apply to the bay as well as the boxes.
End walls, doors, and security
A container shop can stay open at both ends, close off 1 end, or be fully enclosed with steel end walls, a roll-up door, and a man door. Open ends are cheapest and give drive-through access, but the bay is weather-exposed and anyone can walk in. Enclosing the ends costs more and adds to the permit and engineering scope, since the end walls also catch wind.
Either way, the containers are the secure part of the building. A welded steel box with a lockbox and a puck lock is far harder to break into than a framed end wall. Keep tools and anything valuable in the containers, and treat the bay as working and parking space. Our guide to securing a shipping container covers the lock hardware.
Cutting openings into the containers
Many owners want a door from the bay straight into each container, instead of walking around to the cargo doors at the ends. That is possible, but in a container shop it is more serious than usual. The corrugated side walls give the box its stiffness, and once a roof is attached, those same containers are carrying it. Cutting a side opening removes working steel from a box that now holds up part of a building, so the opening needs welded framing to restore what it takes away, and its size and position should be checked against the roof's engineering. Our guide to shipping container modifications covers what cutting into the shell involves, and our custom modifications team can quote openings to the scope you need.
Permits
A single container used for storage is often treated lightly by local rules. A pair joined by a roof usually looks like a building to a permit office, and it may expect drawings, foundation details, and inspections. Some areas restrict container structures altogether. Check with your county or city before buying anything, and ask for the kit's stamped or engineered drawings if your jurisdiction requires them. Our post on shipping container permits covers what to ask. Rules vary widely by city, county, and HOA; this is general guidance, not legal advice.
What goes into the budget
Kit listings show a price for the roof alone, which leaves most of the building out. A full container shop budget has these lines:
- The containers. Size and condition grade drive the price.
- Delivery for both. Distance and site access drive this.
- Site preparation. Clearing, grading, and the delivery run.
- Foundation and anchors. Soil, frost depth, and wind exposure drive the design.
- The roof kit. Span, snow and wind rating, and steel versus fabric.
- End walls and doors, if you enclose the bay.
- The center floor. Gravel or a slab, and its drainage.
- Permits and drawings, where required.
- Openings, power, lighting, and insulation, if you want them.
Each line moves with your site, which is why a quote for the whole job is more useful than a price for any single part.
When a container shop is the wrong choice
A container shop is a good fit when you also want lockable storage, already need containers on site, or want a building you can take apart and move later. It is a poor fit in a few cases. Containers make awkward walls for shelving and wiring, since the corrugations need furring or framing before anything mounts flat. Interior width per box is narrow, roughly 7 feet 8 inches. And if all you need is one wide, clear-span space with no storage, a conventional steel building or pole barn may cost less per square foot and permit more simply. Price both before you commit.
Frequently asked questions
How far apart should shipping containers be for a roof?
As far apart as your roof kit is rated to span under your local snow and wind loads, and wide enough for the largest machine you will park in the bay. There is no single correct number. Pick the kit first, then place the containers to its spacing.
Can you put a roof between two shipping containers?
Yes. Roof kits made for this attach to baseplates bolted along the top edge of each container, and the containers act as the side walls. The containers need sound top rails to bolt to, a proper foundation, and anchoring, because the roof turns them into a single structure that catches wind.
Do the containers need a foundation if you put a roof on them?
They do. A roof adds wind uplift and sideways load to the containers, so they need supports under all 4 corner castings that will not settle unevenly, plus anchoring. The right foundation depends on your soil and use.
Do you need a permit for a shipping container shop?
Often, yes. A pair of containers joined by a roof is usually treated as a building rather than storage, so expect drawings and inspections in many areas. Rules vary by city, county, and HOA; check locally before buying. This is general guidance, not legal advice.
Can I pour a slab between two shipping containers?
Yes, and it is the right floor if you want a vehicle lift or heavy fixed equipment. Decide before delivery whether the slab goes in first or after the containers are placed, because each order changes how the truck reaches the second spot.
Get one quote for the whole building
Tell us the shop you want to build: the size of the bay, what needs to park in it, and where it is going. We supply the containers and the roof kit, so you get one quote for the containers, their delivery, and the roof instead of piecing it together from separate sellers. Every unit is inspected and graded before delivery, a tilt-bed truck sets each container down at ground level, and we check site access and clearance before the truck rolls. The quote is free and itemized with no hidden fees, so what we quote is what you pay, and we reply within 1 business day. For the inside of a single box, see our page on container workshops and garages.