How to Paint a Shipping Container: Prep, Paint, and Weather
How to paint a shipping container without trapping rust: spot repair or full repaint, coating tests, prep, paint choice, and the weather window.
 Lauren B. HayesAdmin9 min read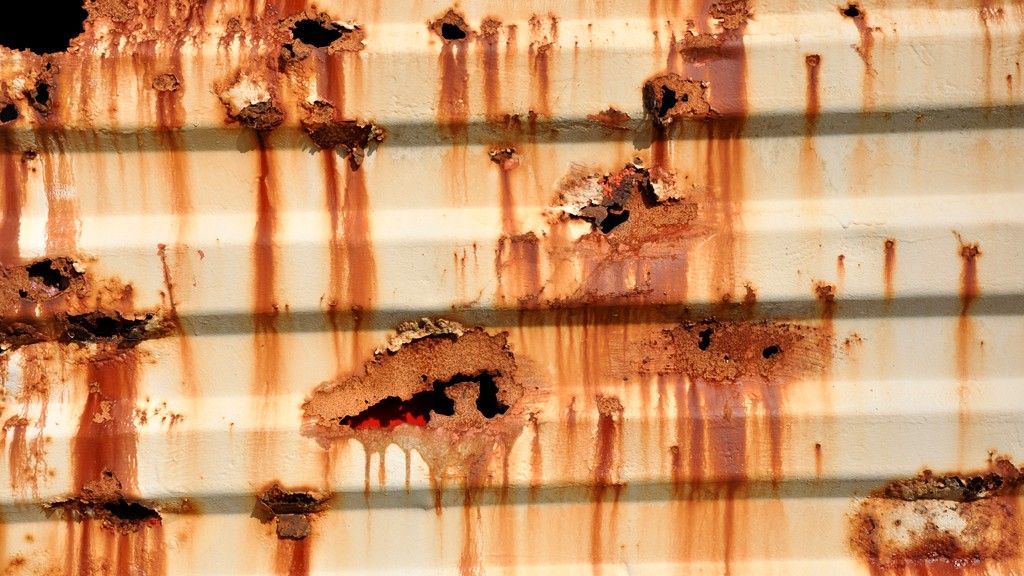
On this page
- 01Should you paint a shipping container at all?
- 02Spot repair or full repaint
- 03Test the old coating before you sand
- 04Surface prep: where paint jobs fail
- 05Choosing the paint
- 06The weather window, and why fall is the deadline
- 07How to paint a shipping container, step by step
- 08Mistakes that shorten a paint job
- 09Frequently asked questions
Should you paint a shipping container at all?
A shipping container leaves the factory with a marine coating system: a zinc-rich primer, an intermediate coat, and a topcoat, built to survive years of salt spray at sea. On a one-trip container (a new unit that has made a single ocean voyage) that system is usually intact, and a fresh coat is cosmetic. On an older used box, the factory coating is often still sound across most of the panels even where the color has faded.
That changes the question. Knowing how to paint a shipping container starts with knowing why you are painting it. There are 3 good reasons:
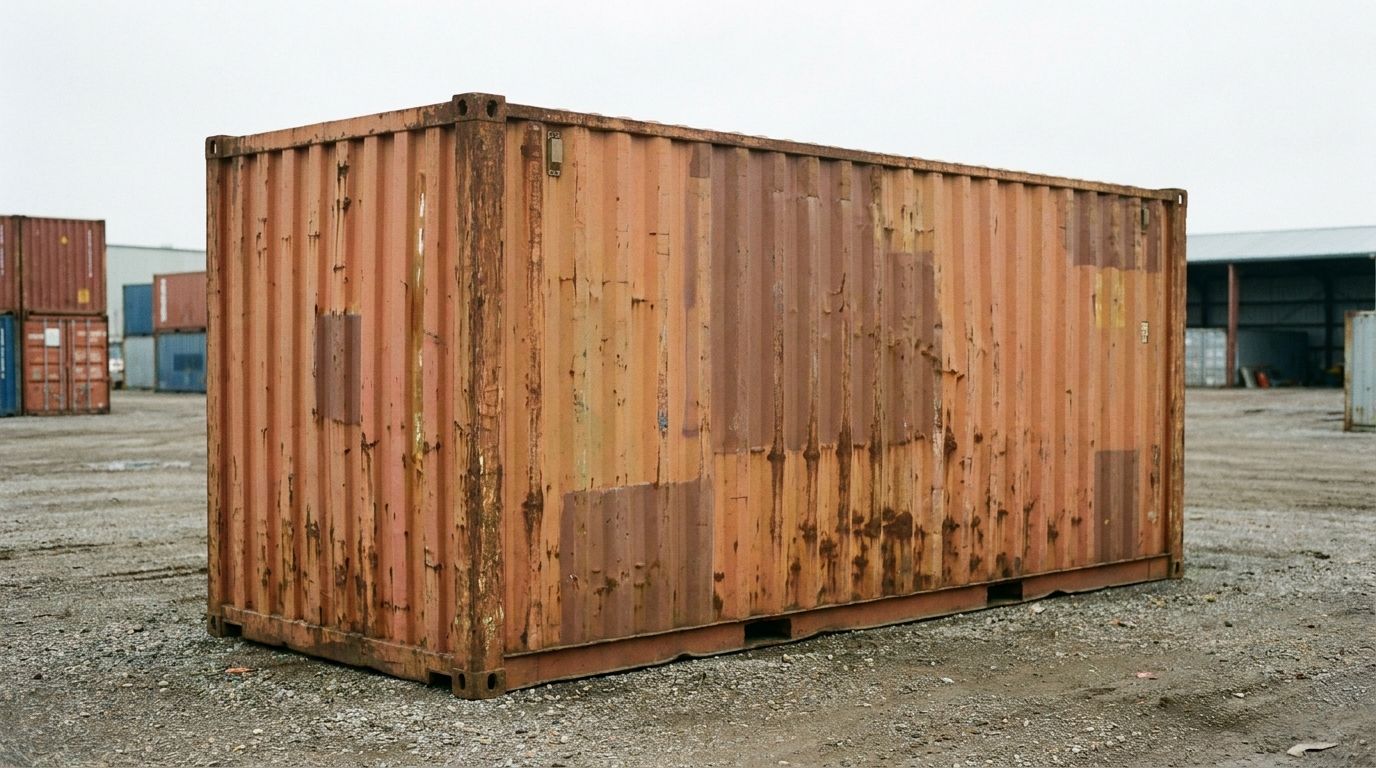
- Rust. Scratches, door corners, and the bottom rails are where coating damage turns into corrosion. This usually calls for spot repair, not a full repaint.
- Color. An HOA, a neighbor, or your own eye wants the box to blend in. This is a full repaint.
- Heat. A lighter color reflects more sunlight, so the interior runs cooler in summer. This is also a full repaint, and it helps most on a box that sits in full sun.
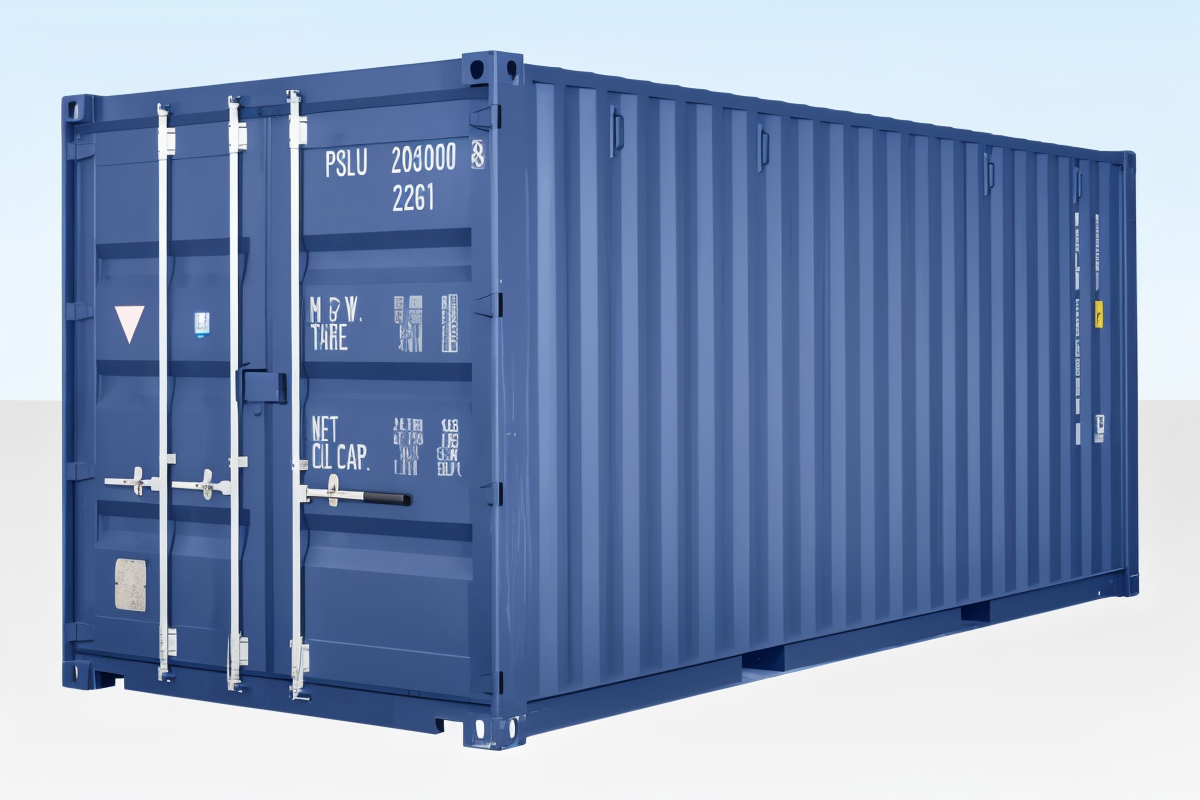
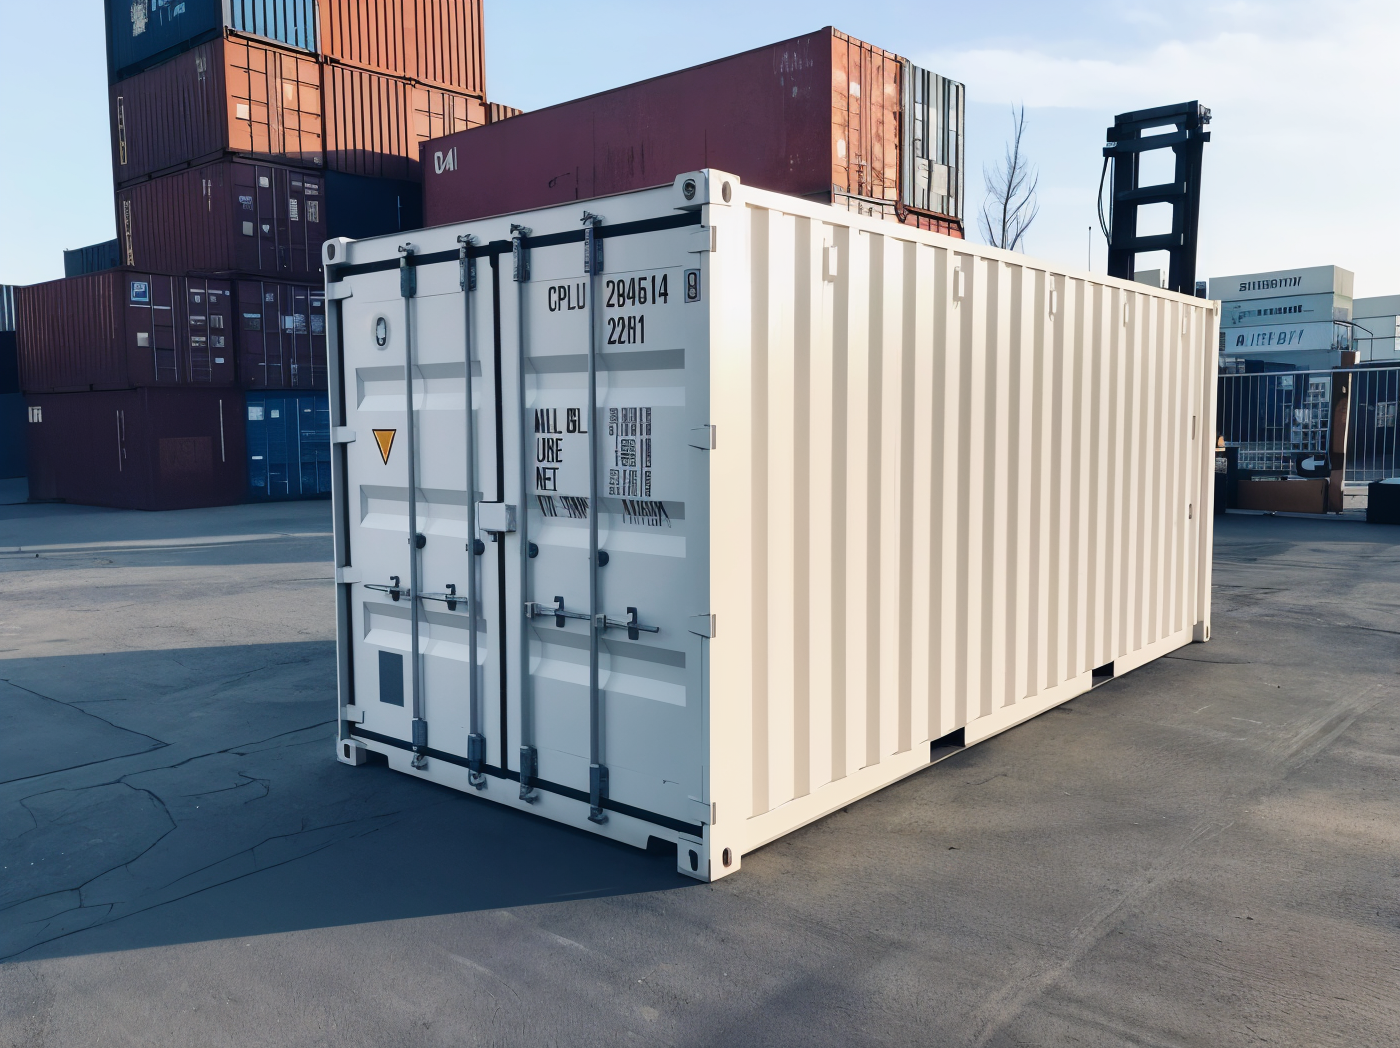
If color is the only reason, check whether you can buy the color instead. One-trip units are listed in factory colors, such as a white one-trip 20ft container and a blue one-trip 20ft container, and some listings let you choose a finish when you order. A factory finish avoids the prep work below entirely.
Spot repair or full repaint
Spot repair means treating only the damaged areas and blending them into the sound paint around them. It is the right call when rust is limited to scratches, dents, door edges, and the lower rails, and it takes an afternoon rather than a week.
A full repaint makes sense for a color change, or when the whole surface is faded and chalky. The tradeoff is scale. The 4 walls and roof of a 20ft container measure roughly 640 square feet as flat panels, and a standard-height 40ft is roughly 1,140 square feet, before you count the extra area the corrugation adds. That is more surface than most house exteriors a DIY painter has done, and most of the work is prep.
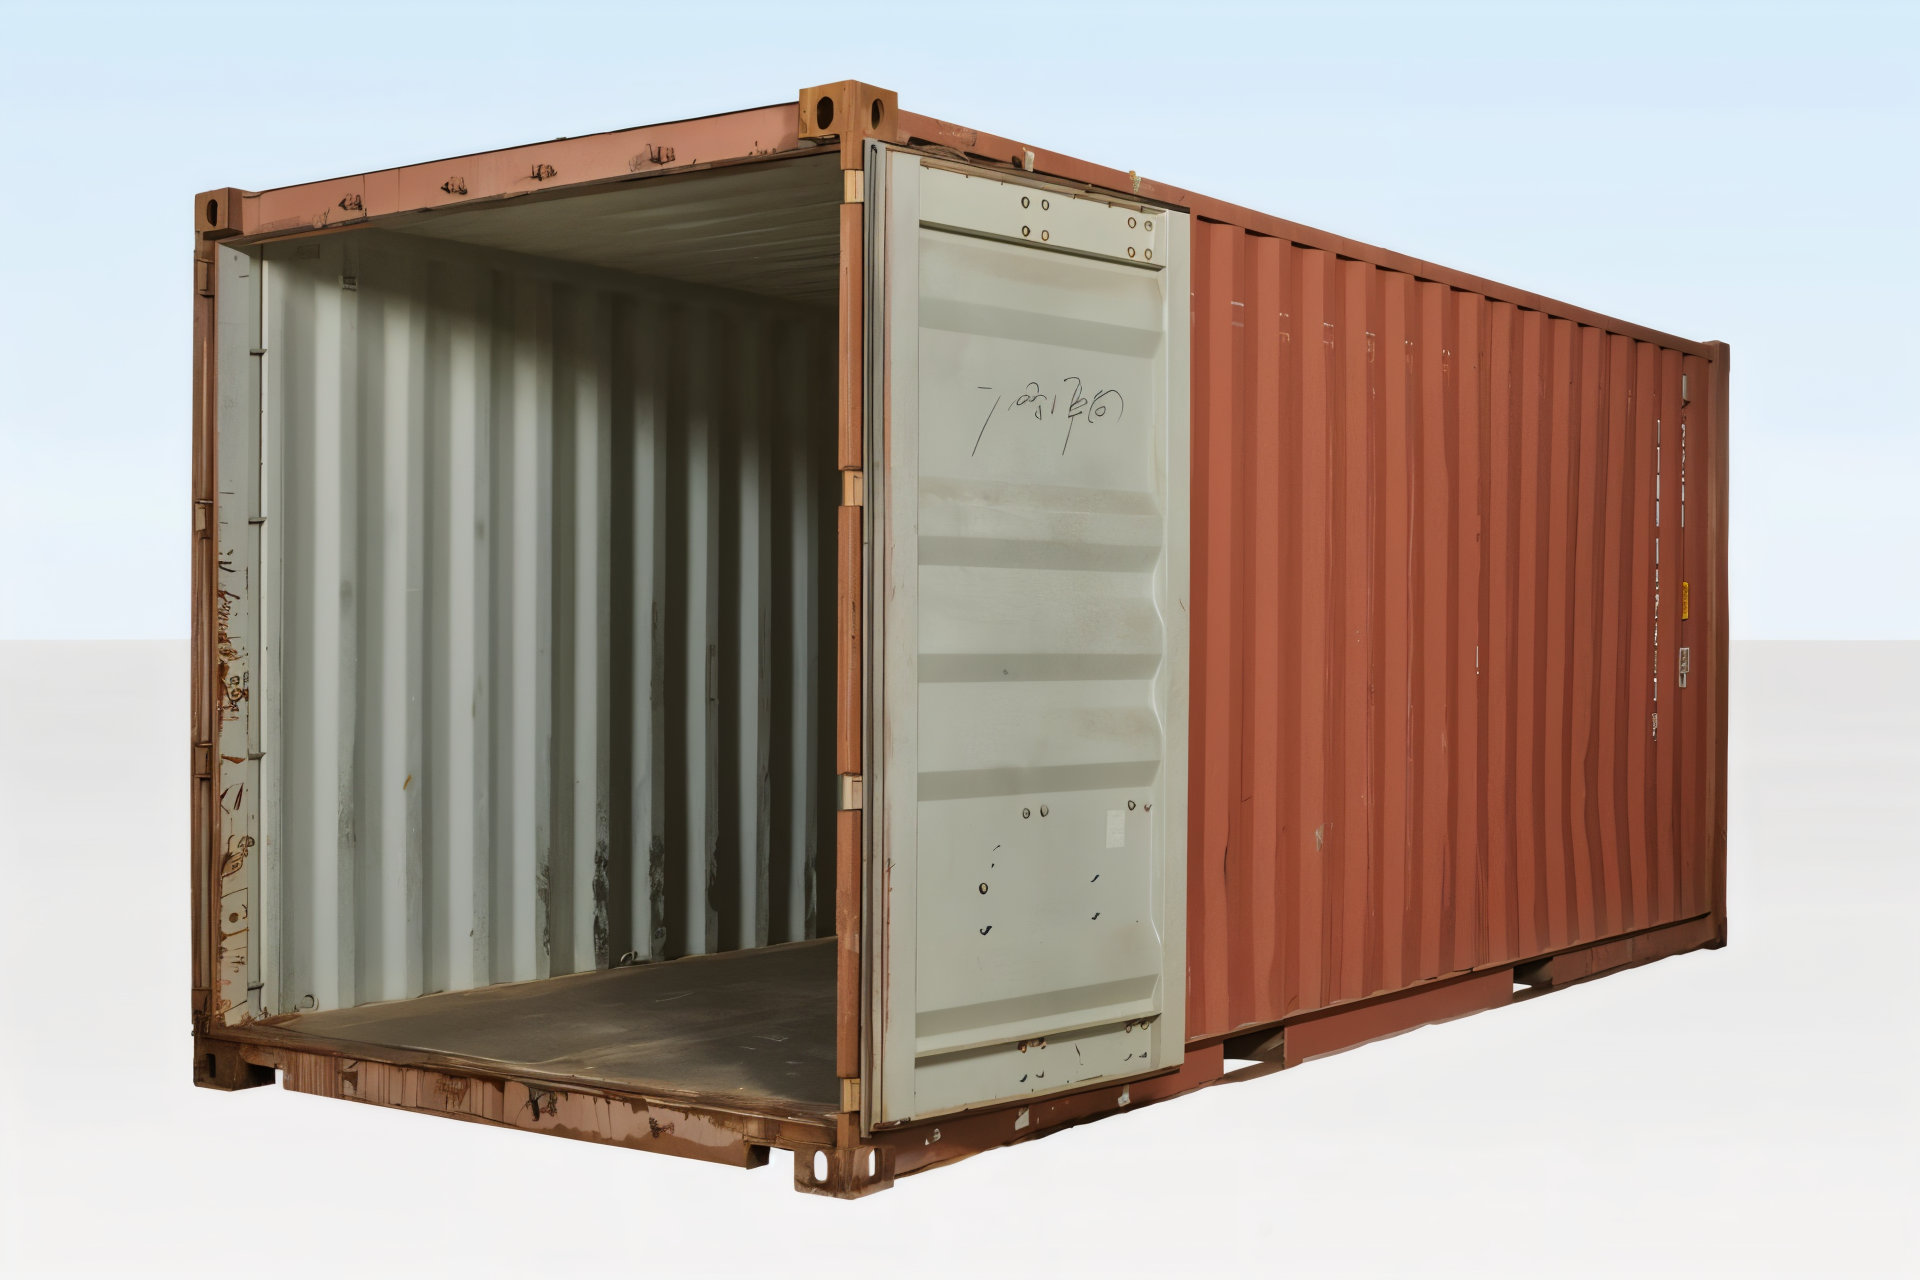
If you are buying a used box with a repaint in mind, the grade matters. A 20ft wind and watertight container (WWT, meaning it keeps out wind and rain but is not certified for shipping) often shows more surface rust than a cargo-worthy one, and our guide to container condition grades explains what each grade usually looks like.
Test the old coating before you sand
Container coatings are industrial products, and older boxes can carry coatings that contain lead or chromate pigments. You cannot tell by looking. Before you sand or grind a used container, test a paint chip with a lead test kit or send one to a lab. If it tests positive, avoid dry sanding and grinding, use wet methods, wear a properly fitted respirator, and collect the debris. Check local rules for disposal. The wooden floor is often treated with insecticide at the factory, so do not sand or burn the floorboards either.
2 more tests take a few minutes and prevent most paint failures:
- The chalk test. Rub a dark cloth firmly across a sun-faded panel. If it comes away with colored powder, the surface is chalking, and new paint will not bond to it until that powder is washed off.
- The adhesion test. Paint a small test patch with the product you plan to use and let it cure. Then score a small grid through it with a utility knife, press a strip of strong tape over the grid, and pull it off fast. If flakes come away, the old coating is weak or the new paint is not compatible with it. Find that out on 1 square foot, not 600.
Surface prep: where paint jobs fail
Paint fails from the surface under it far more often than from the paint itself. Prep has 4 parts.
Wash. Pressure wash with a degreaser, working from the roof down. Let the box dry fully, including the corrugation valleys, the door hinge area, and the top of the bottom rails, where water sits longest.
Remove rust down to sound metal. Use a wire wheel on a drill or grinder in the valleys and around hinges, and a sander on the flat areas. Feather the edges of the surrounding paint so the repair blends. Loose flaking rust has to go. A tight, stable surface stain can be treated with a rust converter, but read its label, since some converters need their own topcoat. Avoid sandblasting the whole box unless you plan a full industrial coating system: blasting strips the zinc primer that is doing much of the corrosion protection, and it needs media containment.
Prime bare steel the same day. Bare steel starts to flash rust within hours in damp air. Spot prime every area you took down to metal before you stop work.
Mask what should never be painted. Tape off the CSC safety approval plate, the container number and ISO markings, the door gaskets, the lockbox, and the vents. The container number is how a buyer identifies the box, as our guide to avoiding shipping container scams explains, and a painted-over plate lowers resale value. Paint on a rubber gasket hardens and cracks it. Paint on a vent screen closes it.
Choosing the paint
For most DIY jobs, there are 3 realistic options:
- Direct-to-metal (DTM) acrylic. It bonds to clean steel and to sound existing paint, cleans up with water, and can serve as its own primer on a sound surface. It is the easiest to apply. The tradeoff is that it is softer and less abrasion resistant than a 2-part system.
- Industrial alkyd enamel. It levels well and is forgiving to brush. It dries slowly, and over years in full sun it tends to chalk and fade faster than acrylic.
- 2-part epoxy primer with a polyurethane topcoat. This is closest to the factory system and the hardest wearing. It has a short pot life once mixed, stronger fumes, and needs a respirator and more experience. Many owners hire this out.
Whatever the topcoat, use a rust-inhibiting metal primer on bare spots. Avoid solvent-heavy lacquers over an unknown old coating, since strong solvents can lift it. Exterior house paint made for wood siding is not formulated for steel and tends to let rust bleed through.
On color, lighter shades reflect more heat and hide fading better. Dark colors absorb heat, which raises the interior temperature and the condensation risk inside. If you live under an HOA or a design overlay, check color rules first, and see our overview of container permits and zoning. This is general guidance, not legal advice, and rules vary by city and HOA.
The weather window, and why fall is the deadline
Paint labels set a minimum air and surface temperature, often around 50°F for many acrylics, plus a humidity limit. Read the label on the can you buy, because products differ.
Steel is the catch. A container wall lags the air temperature, so on a cool morning the steel can be colder than the air and wet with dew you cannot see. A common coating rule is to paint only when the steel surface is at least 5°F above the dew point. In practice, that means starting mid-morning once the dew has burned off and stopping early enough that the paint is dry to the touch before evening dew settles.
Fall is the last window in much of the country. Days are short, nights are cold, and a coat that goes on at 3 p.m. may never dry properly. If you cannot get several dry, mild days in a row, spot prime the rust now and leave the full coat for spring. That is a better result than a rushed coat that peels by March. In summer, the opposite problem applies: steel in full sun can get too hot to paint well, so work the shaded side.
How to paint a shipping container, step by step
- Wash, degrease, and let the container dry completely.
- Mask plates, markings, gaskets, the lockbox, and the vents.
- Remove loose rust, feather the edges, and prime bare steel.
- Cut in with a brush first: corners, door hardware, hinges, and the corrugation valleys that a roller skips.
- Apply the main coat. An airless sprayer is fastest on corrugated steel. A roller with a thick nap works for DIY, and a brush suits small areas.
- Apply the second coat within the recoat window printed on the label.
- Leave the doors open until the paint around the gaskets has cured, so the seals do not stick.
To estimate paint, take the flat area above, add a margin for the corrugation, divide by the coverage per gallon on the label, and multiply by the number of coats. Buy a little extra from the same batch for touch-ups.
Work the roof from a ladder or a lift. The roof panel is thin corrugated steel and dents under a person's weight, and a dent becomes a puddle that rusts.
Mistakes that shorten a paint job
- Painting over rust. It keeps spreading under the new coat and pushes it off from behind.
- Painting over chalk or dirt. The new coat bonds to the powder, not the steel.
- Painting damp steel, or too late in the day.
- Painting over vents and gaskets.
- Choosing a dark color for a box with no airflow. It heats up, and the moisture inside has nowhere to go. See our guide to container ventilation and condensation.
A good paint job is part of a maintenance routine, not a one-off. Our guide to how long shipping containers last covers the yearly inspection that keeps small chips from becoming holes. Painting the inside is a separate job that belongs with insulation, which our guide to insulating a shipping container covers. If the box will sit outside through the cold months, finish the season with our shipping container winterizing checklist.
Frequently asked questions
How long does paint last on a shipping container?
It depends on the product, the prep, and the exposure. Salt air and full sun wear any coating faster. Rather than plan around a number, inspect the box once a year and touch up chips and scratches as soon as you find them. Small repairs done early are what make a coat last.
Can I use regular house paint on a shipping container?
Exterior house paint made for wood siding is not designed for steel and tends to let rust bleed through. Use a direct-to-metal paint or a metal-rated enamel, over a rust-inhibiting primer on any bare steel.
Do I need to sand the whole container before painting?
No. Wash it, remove loose rust down to sound metal, and scuff glossy areas so the new coat can grip. Sound factory paint is a good base. Only sand broadly if the adhesion test shows the old coating is failing.
Does painting affect resale or shipping?
Paint on its own does not change how the box performs in storage. What matters for resale or a future voyage is that the CSC plate and the container markings stay clean and readable, so mask them every time you paint.
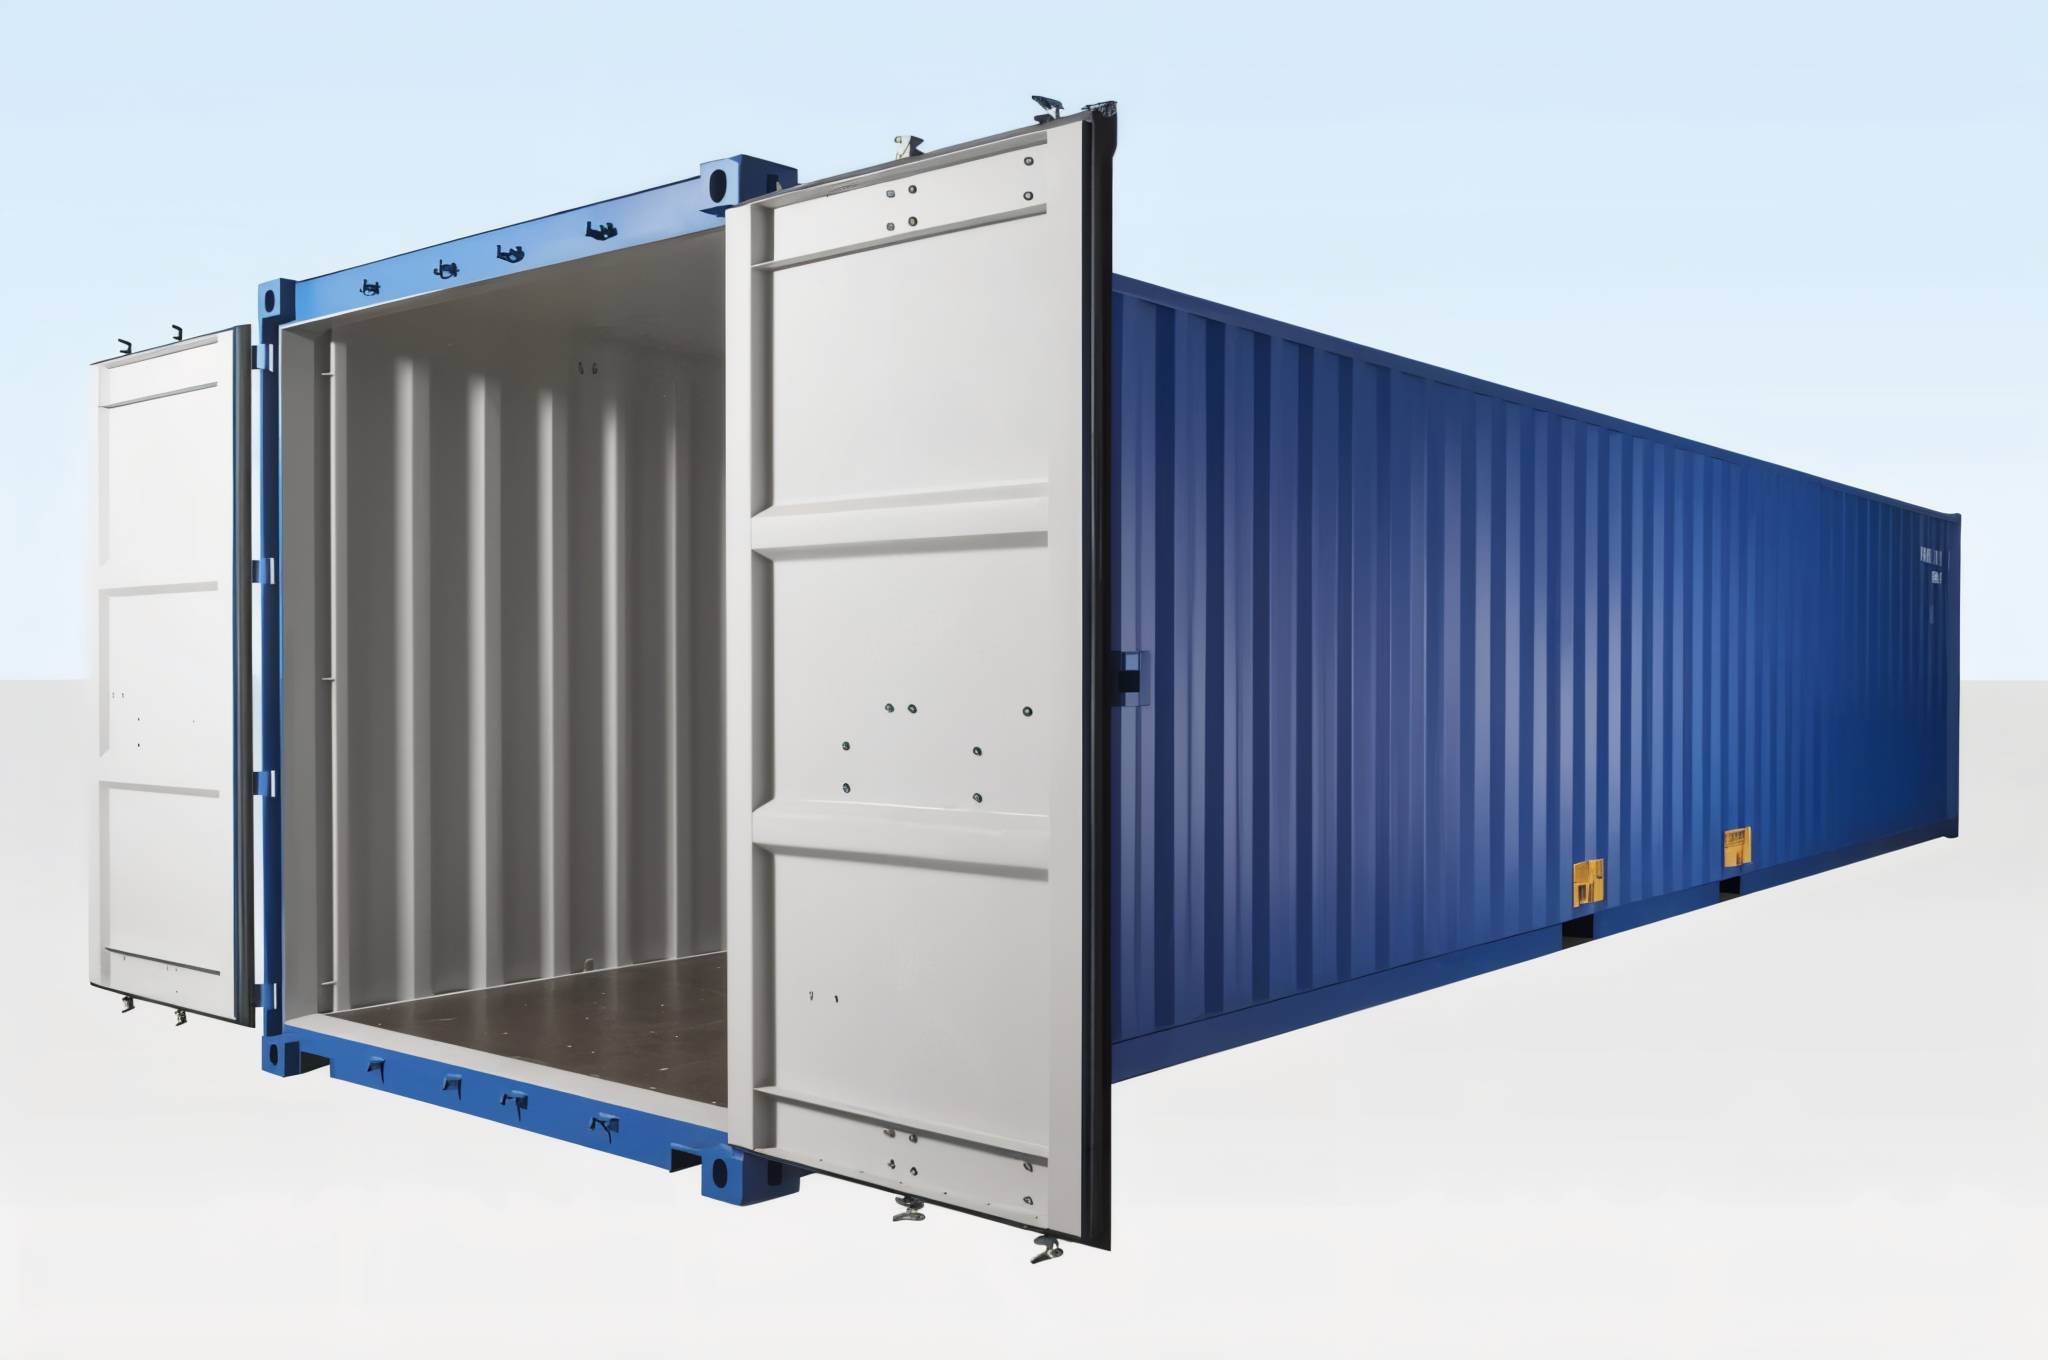
If you would rather start with the color you want, ask us for a free, itemized quote on a one-trip unit, such as a 40ft one-trip high cube (a high cube is 1 foot taller than a standard box). Every unit is inspected and graded before delivery, what we quote is what you pay, and we reply within 1 business day.