Shipping Container Gravel Pad: How to Build One That Lasts
How to build a gravel pad for a shipping container: the right footprint, depth, stone type, drainage, and compaction so the unit lands firm, level, and dry.
On this page
For most yard-storage containers, a gravel pad is the base that does the job: it keeps the steel off wet ground, gives the unit a firm and level surface to rest on, and costs far less than pouring concrete. The catch is that "throw down some gravel" and "build a pad that drains and holds level for years" are two different things, and the difference is mostly in the prep you don't see once the container is sitting on it.
This guide covers the parts the quick how-tos skip: how big and how deep the pad has to be, where the gravel actually has to sit under the container, which stone locks together instead of rolling around, and how to handle drainage and soft soil like Georgia red clay. It also ties the pad back to delivery, because a tilt-bed truck (the common delivery rig that tilts its bed and slides the container off the back) needs the ground firm and level before it ever shows up. The engineering ranges here are general guidance; your soil, slope, and unit decide the specifics.
Quick answer: is a gravel pad enough?
For a standard storage container on reasonably firm ground, yes: a properly built gravel pad is enough, and it is the most common base sellers and buyers use. Build it from angular crushed stone (such as #57 stone, a roughly 3/4-inch washed gravel that locks together), 4–6 inches deep over stripped and compacted subgrade, extending past the container's footprint by about a foot on every side. The gravel has to carry the 4 corner castings (the reinforced steel corner fittings the container rests and lifts on) and run the full length of both bottom side rails (the long steel beams along each side), not just sit in a patch under the middle. Crown or slope the pad slightly so water sheds instead of pooling. Upgrade to piers or a slab only when the unit is heavy, permanent, or cut open for an office or home.
Why a gravel pad works
A gravel pad solves the two problems that shorten a container's life on the ground: standing water and an uneven base. It earns its place for three reasons.
Drainage. Loose angular stone is full of voids, so rain runs through it and away from the steel instead of sitting against the underside. A container set directly on soil or grass traps moisture under the floor, and the cross-members corrode from below where you never see it. Gravel keeps the underside ventilated and dry.
Leveling. A graded gravel pad gives you a firm, even plane to set the container on, so the load is carried evenly across the corner castings and rails. Set a long box on uneven dirt and it twists slightly — the doors stop closing square, and the frame racks (goes out of square) under its own weight. A level pad prevents that.
Cost versus a slab. Gravel is a fraction of the material, labor, and cure time of a poured concrete slab, and for storage it performs just as well. A slab makes sense for permanent, heavy, or modified units; for a standard storage box, paying for one is usually money spent on capability you don't need. For how the base decision fits the overall budget, our guide to how much a shipping container costs breaks down the price drivers without guesswork.
The tradeoff: gravel can migrate over years on very soft or sloped sites, and it won't anchor a unit against wind the way bolted piers or a slab can. For most yard storage, neither is a real limit — but they are the reasons the harder cases upgrade.
How big and how deep
Two numbers decide whether the pad actually supports the container: the footprint and the depth.
Footprint. Size the pad to the container's length and width plus roughly a foot of margin on each side. A 20ft unit is about 20ft by 8ft; a 40ft unit is about 40ft by 8ft. The extra foot of perimeter matters because it keeps the loaded edges of the container on solid, compacted stone rather than at the crumbling lip of the pad, and it gives water a graded surface to run off into.
The part most guides miss: a container does not bear weight through its floor. It carries load through the 4 corner castings and down both bottom side rails. So the gravel has to be continuous and compacted under all 4 corners and along the full run of both rails. A center patch of gravel with bare dirt under the corners is the most common mistake, and it's the one that lets the corners settle and the box go out of level.
Depth. Plan on 4–6 inches of compacted stone. Go to the deeper end, or more, on soft, wet, or clay-heavy soil that won't carry load on its own, and you can stay shallower on firm, well-draining ground. Depth is measured after compaction, not as the loose pile you dumped, so order enough stone to account for the volume you lose when you tamp it down.
Which gravel to use
The stone type is where a pad quietly succeeds or fails, and it comes down to one property: angular versus rounded.
Use angular crushed stone. Crushed stone has sharp, irregular faces that interlock under load and stay put — the pad behaves almost like a flexible slab. #57 stone (the roughly 3/4-inch washed grade) is a common, well-draining choice for the surface course because the uniform size leaves big voids for water. Crushed #411 or a crusher-run base (crushed stone mixed with stone dust) compacts even tighter and makes a strong base layer under the #57.
Avoid rounded pea gravel as the structural layer. Smooth, rounded stones can't lock together — they roll past each other under load, so the container's corners sink and the pad spreads out at the edges. Pea gravel is fine for a decorative top dressing, but it is the wrong choice for the layer that carries the unit.
On soft sites, a two-lift approach works well: a compacted crusher-run or #411 base for strength, topped with a few inches of #57 for drainage and a clean surface. Each layer gets compacted before the next goes down.
Building the pad, step by step
The work is straightforward; the order and the compaction are what make it last.
- Mark the footprint. Stake out the container's length and width plus about a foot of margin on every side. Confirm a tilt-bed truck can reach the spot and pull straight off — set the pad where the unit will actually be delivered.
- Strip the sod and topsoil. Remove grass, roots, and soft organic topsoil down to firm subgrade. Organic material rots and compresses, so a pad built on top of sod settles unevenly within a season.
- Compact the subgrade. Tamp or roll the exposed soil so it's firm before any stone goes down. A pad is only as stable as the ground under it.
- Lay geotextile fabric over soft or clay soil. A layer of woven geotextile (landscape/separation fabric) between the subgrade and the gravel stops the two from mixing — see the soil section below for when this is worth it.
- Add stone in lifts and compact each one. Spread the base course, compact it with a plate compactor, then add the surface course and compact again. Compacting in thin lifts, rather than one deep dump, is what gives you a dense, load-bearing pad instead of a loose pile.
- Grade it level, with a slight crown or slope. Screed the surface flat and true under where the corner castings and rails will land, then build in a small crown or one-way slope so water sheds off instead of ponding.
- Check it before delivery day. A long level or string line across the pad confirms it's flat and true. The pad has to be firm and level before the truck arrives, because the driver can't grade your site for you.
Drainage, slope, and soil
The pad's job is to move water away from the steel, and soil decides how hard that is.
Slope and crown. Build a slight, deliberate grade into the surface so rain runs off rather than collecting under the container. A gentle crown (higher in the middle) or a slope toward the downhill side is enough — you want water leaving the pad, not pooling at a corner casting.
Expansive clay (such as Georgia red clay). Clay soils swell when wet and shrink when dry, and they don't drain. The specific failure on clay is "pumping": under load and rain, the clay works its way up into the gravel and the gravel sinks into the clay, until the two have mixed and the pad loses its structure. A layer of geotextile separation fabric between the subgrade and the stone stops that migration and keeps the gravel course intact. On heavy clay, also lean toward the deeper end of the depth range and a more aggressive crusher-run base.
Frost line. In cold-winter regions, water in the soil freezes and heaves the ground upward, then drops it on the thaw — frost heave. A surface gravel pad moves with the ground, which is usually fine for a storage box that can be re-leveled. But for a permanent or modified unit where movement isn't acceptable, footings have to reach below the local frost line so they sit on ground that doesn't freeze. That's one of the points where a pad gives way to piers.
When to upgrade to piers or a slab
A gravel pad covers most storage, but three things push you toward concrete piers or a full slab.
- Weight and size. A loaded 40ft unit, or two stacked containers, concentrates a lot of load on each corner. Concrete piers under the corner castings spread that load into the ground better than gravel alone on a marginal site.
- Permanence and code. A modified container office, a container home, or any unit you cut openings into and finish out is a long-term structure, and local building code may require an engineered foundation with footings below the frost line. Treat permitting as general information, not legal advice — check what your local jurisdiction requires before you build.
- Anchoring and finish. A slab gives you a clean, dust-free floor, a surface to anchor the unit against wind, and a base for utilities — worth it for offices, shops, and homes, overkill for a storage box.
A useful rule: gravel for storage you might relocate, piers when the load or the soil is marginal, a slab when the container becomes a building you live or work in. For how the base requirement scales with the unit and use across the whole siting decision, our shipping container foundations guide is the hub that ties piers, slabs, and pads together.
Frequently asked questions
How deep should a gravel pad be for a shipping container?
Plan on 4–6 inches of compacted angular crushed stone for most storage units. Go deeper on soft, wet, or clay-heavy soil that can't carry the load on its own, and measure the depth after compaction, not as the loose pile you spread.
What kind of gravel is best under a shipping container?
Angular crushed stone, such as #57 (roughly 3/4-inch washed) for the surface, with a crusher-run or #411 base on softer sites. The sharp faces interlock and stay put under the corner castings. Avoid rounded pea gravel for the structural layer — it rolls and lets the corners sink.
Do I need a gravel pad, or can a container sit on bare ground?
A container can be set on bare ground briefly, but on soil it traps moisture against the steel and the floor cross-members corrode from below, while uneven dirt lets the frame rack out of square. A gravel pad fixes both by draining the underside and giving the unit a firm, level base.
How big should the gravel pad be?
Match the container's footprint (about 20ft by 8ft for a 20ft unit, 40ft by 8ft for a 40ft unit) and add roughly a foot of margin on every side so the loaded corners sit on solid compacted stone and water has somewhere to run off.
For the access and clearance side of getting the unit onto your finished pad, our guide to preparing your property for container delivery covers the truck route, clearance, and drop-zone work that pairs with the base.
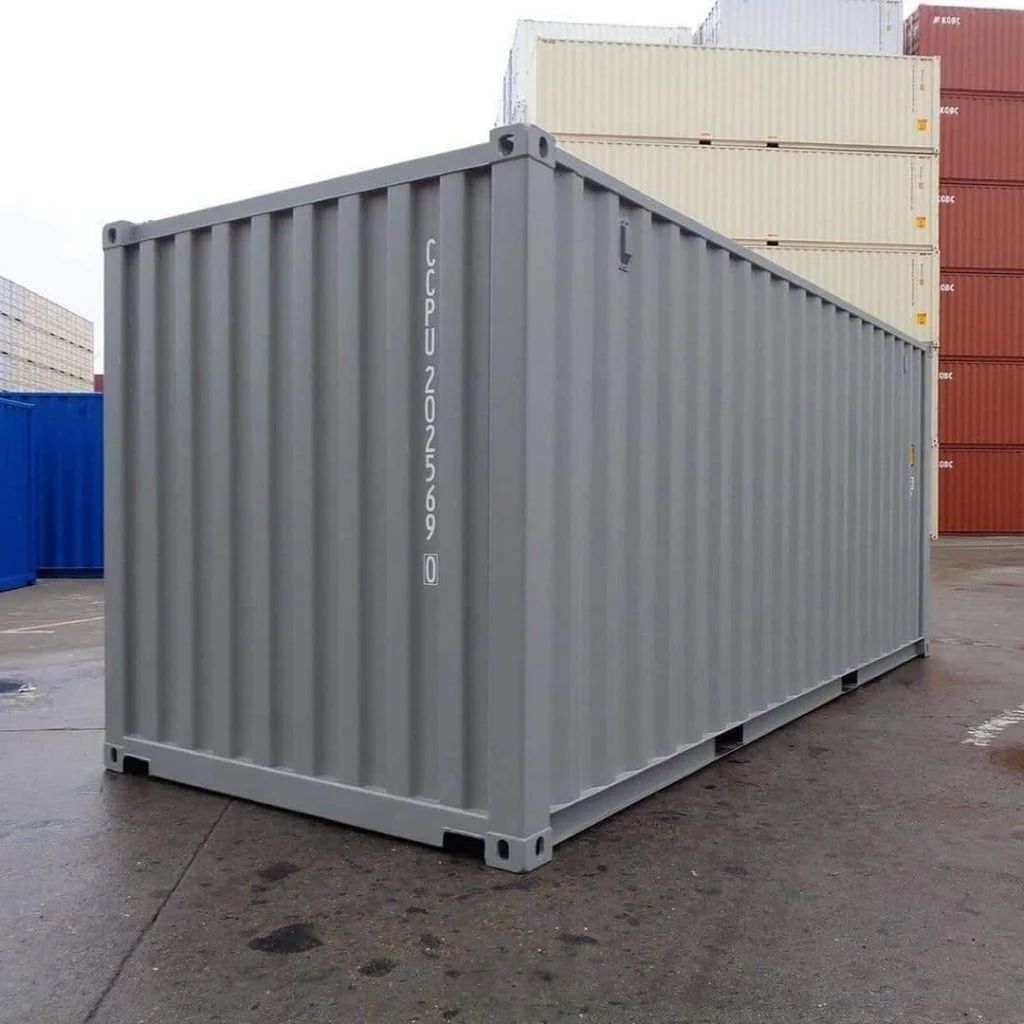
Once your pad is graded and compacted, get a free quote and we'll match the right unit to your site — a 20ft standard dry one-trip container is the general-purpose steel box for most gravel-pad storage, and a 40ft high cube used container gives you more length and an extra foot of height (a high cube is 9ft 6in tall) on the same kind of base. Browse our standard dry containers to compare sizes, and tell us your soil and access when you reach out. We reply within 1 business day.